Wednesday, November 25, 2020

The Taste of Fall


As the leaves turn their magnificent fall colors—brilliant gold, burnt orange, deep red—there’s nothing more warming than a hot cup of apple cider. Redolent with traditional spices of cinnamon and clove (with an occasional hint of ginger or cardamom), this distinctly fall beverage perfectly captures the apple harvest in our area.


But apple cider isn’t just for drinking. It also makes a delicious caramel that is easy, albeit a bit time consuming, to make. I happened across an Instagram post from the Smitten Kitchen blog with a drool-worthy picture of said caramels. What I liked about the recipe, aside from the flavor profile, is that it uses fresh, local apple cider. Right now…especially right now…we are trying to support our small local merchants and farmers, so what better way than to buy some fresh unfiltered apple cider and make these treats?


The process is simple and doesn’t require any fancy tools or pans, although a candy thermometer does help immensely. The time-consuming part of the recipe is boiling down the apple cider until it is almost syrupy. Going from 4 cups of cider to 1/2 cup takes 30-45 minutes. You don’t have to stand and watch it. Just stir now and then. As it gets close to the end, it’s wise to hover a bit, so it doesn’t burn. But once you have your concentrate, you add the main ingredients, stir and boil until it hits about 252 degrees. Really, it’s just that easy.


When you take it off the heat you hit the mixture with a bit of cinnamon and flaky sea salt, which really makes the caramel pop. (I’m sure you could eliminate both and they would still be out of this world, but why mess with perfection?) Pour into your prepared pan and refrigerate until hard. Then enjoy the goodness. And while you’re at it, why not double recipe and spread the wealth? I shared with all my neighbors, to help ease the pain of celebrating Thanksgiving in isolation. 


NoteIf you don’t have access to fresh unfiltered apple cider from a local grower, most supermarkets carry unfiltered apple cider (NOT juice), which has been pasteurized and bottled and is shelf-stable.


Recipe after the jump…


Monday, November 23, 2020

Holiday Eggnog Bread

 My godmother is a good cook, when it comes to savory items. I’ve never really known her to do sweets. Partly because she and my godfather were not big fans of sugary treats and she rarely had time to put into baking.

One sweet treat she has been making for years—decades probably—is a delicious eggnog bread. It’s an easy semi-homemade loaf that is moist and full of flavor. The simple recipe is easily doubled (each batch makes two loaves), so that you can freeze some to have on hand for guests or to give away to friends and family. (It will be much more welcomed than the traditional fruit cake.) 


You can find the recipe for the eggnog after the jump and in my second cookbook, aptly named Eating Suburbia, available here.


NOTE: Last week I shared a cherished recipe for eggnog that was generously shared with me. It’s the perfect ingredient for this holiday eggnog bread, but if you don’t have the time or the inclination to make it, you can head to the store—COVID willing—and pick up some premade eggnog to use. 


Holiday Eggnog Bread

1 box yellow cake mix    

1/4 cup butter, softened

2 large eggs    

2 tablespoons rum

1 1/2 cups eggnog


Preheat oven to 350 degrees. Grease two loaf pans.


Beat eggs first then add the rest of the ingredients and mix well. Pour into prepared loaf pans.


Bake for 45 minutes. Allow to cool, then remove from pans.


Yield: 2 loaves


Monday, November 16, 2020

Tis the Season…for Eggnog

Almost a decade ago, my two oldest children rented a house together on one of the best blocks in Redwood City. The day they moved in, neighbors came by to welcome them, drop off a list of everyone’s phone number, and tell them about the Facebook group that the neighborhood had. 


In the years since, we’ve become part of that neighborhood by extension. The annual Easter Eggstravaganza and fall Oktoberfest have been highlights, where the street is blocked off and everyone shares in food and drink, games and karaoke. Halloween is an event, where over 500 kids come through to see all the decorations. Memorial Day, Fourth of July and Labor Day are often celebrated at The Resort, a beautiful home where one couple has a pool and a tiki bar and doesn’t mind a neighborhood invasion. 


Spending time with these generous and friendly people was a highlight of our time in the suburbs and we do miss it now being in the mountains. While we have been back for events since we moved, those events have been a little less sparkly and joyful due to the death of the street’s matriarch. Bobby was a gregarious, and sometimes outrageous, woman…one I think I’d like to be when I grow up. She often had wildly colored hair, brightly decorated nails, loved her Four Roses bourbon, and had a great laugh. She also made the very best eggnog I’ve ever had, although I rarely got much of it, as Mr. B quickly drank copious amounts whenever she delivered it to our house. 


Last week, Bobby’s daughter kindly shared the recipe for her eggnog, which not surprisingly contains her beloved Four Roses. She told Brilliant Daughter and me that Bobby would want us to have it. And because it’s just so darn stinkin’ good, I wanted to share it as well. It’s the perfect time for it, with the holidays winging our way.


So, a big “Cheers” to Bobby, may she smile down upon us as we enjoy this delicious beverage. And “cheers” to all of you, hoping you have a happy and healthy holiday season.


Bobby’s Famous Eggnog 

12 egg yolks

1 cup sugar

2 tablespoons vanilla

2 quarts half and half

¼ cup Meyers dark rum

¾ cup Four Roses bourbon

Cinnamon and nutmeg to taste


Blend egg yolks, sugar and vanilla with a hand or stand mixer until light yellow. Add the half and half slowly and mix completely. Add in rum and bourbon, then stir in cinnamon and nutmeg. 


Refrigerate immediately. Good for up to two weeks. 


Side Notes:

And while it may be sacrilege to utilize this delicious eggnog into anything other than a beverage, you might want to use it to make eggnog bread, which is a simple treat that is easily frozen for later enjoyment and makes a nice gift to neighbors. I’ll share that recipe later this week.


And don’t throw out those egg whites either. They can be scrambled for a healthy breakfast or made into these delicious meringues, which are sweet and chocolate-y and will satisfy the biggest sweet tooth and the dieter alike—as they are only 30 calories apiece.


Chocolate Chip Meringue Cookies

4 egg whites, at room temperature

1 teaspoon vanilla

1/4 teaspoon cream of tarter

1 1/3 cup granulated sugar

1 1/3 cups mini chocolate chips


Preheat oven to 275 degrees. Line a cookie sheet with Silpat or parchment paper. 


In a medium mixing bowl with whisk attachment bowl, beat egg whites on super high speed until soft peaks form. Add cream of tarter and vanilla and mix again for 30 seconds. Scrape the bowl and return to high speed and add sugar 2 tablespoons at a time. Beat on high until the meringue holds very stiff peaks. Gently fold in the chocolate chips.


Drop mixture by rounded tablespoon 2 inches apart on the prepared cookie sheet (a mini ice cream scoop makes even-sized domed cookies; a pastry bag yields cookies with a gentle swirl pattern). Bake the cookies in the oven for 25 minutes or until the bottoms of the cookies are lightly browned. Turn oven off and let cookies finish cooking for 15 minutes. Remove and transfer cookies to a wire rack and allow to cool.

Thursday, August 13, 2020

Time for Gringa Taquitos and a Specialty Cocktail


The other day, my son went to a friend’s house to do some electrical work. While he was there, his friend’s mother-in-law made taquitos (aka flautas) from scratch for lunch. His retelling this had a very subtle subtext: Why don’t you make homemade taquitos?


It’s true, I don’t make taquitos. I do make homemade tamales, ceviche, carnitas, and other assorted Mexican dishes, despite the fact that I am wholly European in origin (unlike aforementioned mother-in-law). I don’t make taquitos because I don’t do any fried foods. No fried chicken, no fish and chips, no onion rings. My only concession is beignets, which are soooo worth the trouble to make and the oil to fry them in. 


Then the other day I ran across a recipe for a baked taquito in a magazine. I remembered my daughter making baked chimichangas back in the day and thought this might be a good alternative. And since I just made a dozen pints of homemade salsa, this would be a good accompaniment.


Turns out, making taquitos is a pretty simple thing to do. They make for a quick snack or easy dinner and can be filled with all manner of things. The original base recipe calls for avocado, pinto beans, shredded rotisserie chicken (from the store) and cheese. But you can substitute black beans, fresh (canned or frozen) corn, refried beans, leftover steak or pork, or sautéed veg (maybe kale and zucchini, which are in season now). They can easily be made vegan or vegetarian, or spiced up with some fiery jalapenos or serrano peppers. You are limited only by your imagination and what is in your fridge and pantry. 


By baking the taquitos, you still get the crunch of a fried taquito, but without the added oil and calories. So, it’s a healthy version that both kids and adults will love. And love them we did….


But in all fairness, my son wasn’t around when I made these, so I invited the neighbors. Hence that really lovely looking cocktail at the top of the post. It was bribery to get them over to test my recipe. They all agreed that the taquitos and the cocktail were superb. 


As for the cocktail, I made some fresh watermelon juice and squeezed some limes, which I added to vodka. It needed a bit more something, so I decided to add some of the lemon balm syrup I make. Perfecto! Slightly sweet and tart at the same time, and very refreshing on what was a very hot day.  


Side NoteLemon balm is part of the mint family, growing pretty prolifically without much care. Pour boiling water over and steep for a calming tea that can help anxiety and insomnia. The tea is also good for colds and flu. During the summer, I chill the tea and drink it iced with a bit of the syrup, which is just 1 cup water, 1 cup sugar, 1 lemon cut into fourths and a big bunch of lemon balm (leaves and stems). Bring to a boil and cook until sugar is melted, then let it steep for 10-15 minutes and strain. Syrup can be used in hot or cold tea or any cocktail which could benefit from a sweet and subtle lemon flavor. 


My modified taquito recipe can be found after the jump.


Tuesday, May 26, 2020

Tiny Tea Cakes: Two for the Price of One!

Tea is a bit of a family tradition. Both my nana and papa emigrated from the UK and were avid tea drinkers. It’s the only caffeine I had until I was well through college and learned what real coffee beans tasted like. And while I start my day with a cup or two of Peet’s Major Dickasons, my go-to beverage the rest of the day is tea, be it hot or cold.

While Lipton was my early introduction to tea, I expanded to the Bigelow brand in my teens and herbals in college. While I am not a fan of flavored and fruity teas, I do love a good Earl Grey, and mint or chamomile after dinner. A culinary trip to Taiwan in 2004 got me more into leaf teas and certain blooming flower teas, as have my frequent forays to the U.K. over the last decade. 

There are times when I wish I was a throwback resident in London, working in an office where the tea cart came round twice a day. But sometimes I pretend and make some little tea cakes and sit down in the afternoon with a pretty pot and cup and saucer. Occasionally I invite over friends or neighbors to partake in a little tea party.

Hence my constant search for a good tea cake to serve. In early March, before this whole shelter in place edict, two of my neighbors joined me for tea and I made my nanny’s shortbread along with cherry and almond tea cakes and some fresh strawberries. 

I found the recipe on Pinterest and it’s actually from Martha Stewart. You use stemmed cherries, and the stems poke out the top of each little cake. The recipe calls for a fresh sweet cherry, like a Bing, but I had a jar of Trader Joes Pitted Amarena Cherries with Stems (in syrup) that I keep on hand for cocktails and ice cream sundaes. They worked really well. Up to you what type you use, just make sure they’re pitted!

I also made a really delicious batch of mini lemon tea cakes about two weeks prior to Easter. They originally appeared on the blog, Back for Seconds, also found via Pinterest. I brought a basket of these little gems to each neighbor, along with decorated Easter cookies and a little bunny door decoration I made. We were a few weeks into the quarantine and I thought everyone could use a bit of cheer. 

Both recipes are worth a share. Both are pretty darn easy to make and the lemon ones make a whopping 48, so they can be shared, as I did, or frozen for later consumption. 

You’ll find the recipes after the jump….

Enjoy!

Monday, May 18, 2020

Gluten-Free Goodness

I often entertain people who have food allergies or sensitivities. In this day and age, it’s really not uncommon. My own family has struggled through 3 generations of milk allergies, as well as sensitivities to alliums and nightshades. In fact, my most recent cookbook, Food Is Love, has a whole section on cooking with dietary restrictions. 

One of the more common issues I see is gluten intolerance. So, I’m always on the lookout for tasty gluten-free recipes, particularly for desserts. I’ve got several tried-and-true recipes, tested by family and friends, but am always on the hunt for more. 

Recently we hosted a social distancing Cinco de Mayo event for the neighborhood. We placed a fire pit in the middle of the cul-de-sac and everyone brought their own chairs and cups. Everything that was served was in single serving containers: tamales, sauce, tacos, street corn salad, gazpacho shooters, dulce de leche cupcakes, and Mexican wedding cookies. 

Most of the items were already gluten free, except the sweet treats. As one of our neighbors cannot tolerate gluten, I decided to make a cookie reminiscent of the Mexican wedding cookies—a crumbly pecan round coated in powdered sugar. They’re a mess to eat but so delicious that you don’t care if white specks cover the front of your shirt. Of course, I’m partial to anything with nuts, which is one of the reasons that I love these. 

My search yielded a simple recipe on the blog Eating Bird Food. What I really liked about this version is that it only makes a dozen or so cookies. So, if you need a gluten-free cookie for just one or two guests, this is the recipe to use. (Of course, those of us that can eat gluten love these as well!) 

The original recipe is for crescent-shaped cookies, with a yield of 23. I am highly suspicious of that number, as making round cookies only yielded 12. I suppose if you made them small enough, you might be able to squeeze out 11 more. So, it’s up to you on the shape and size of the cookies. You can make rounds or crescents and you can have 10-12 generously sized cookies or 20-24 tiny ones. Either way, you will not be disappointed. (And apologies for not having a picture of them.)

I also found that you can substitute almond meal for the almond flour. Almond flour is super fine and usually light beige or yellowish in color. Almond meal looks more like ground up almonds that had the skin on. I buy Trader Joe’s Almond Meal, as it is affordable and I can almost always use it interchangeably with almond flour.

Oh, and depending on the shortening you use—like Earth Balance—these can also be made in a for those who are strictly vegan. 

Check out the delicious recipe after the jump….

Monday, May 11, 2020

Bread x Two

I like to make bread and find the act of kneading to be very zen. I drift off as I work the dough into a nice smooth ball, ready for its second rise. Needless to say, I’ve been baking a fair amount of bread during this whole quarantine thing. Partly because I have the time, and partly because I hate making too many trips to the store, even though our county has been fairly devoid of any cases and no deaths whatsoever.

My neighbors have enjoyed this activity as well, as I share the bounty. They have learned that if they see yeast or flour in the store to grab it up for me. So I am doubly blessed, I get to eat fresh bread and I often don’t have to shop for the ingredients!

There are two recipes that I have been using a lot of. One is a variation on the 5 Minute Artisan Bread, that I’ve been making for the past 8 years. Everyone in the family makes a version of this 5-minute bread, which is a crusty loaf of goodness. The problem is that the 5 minutes is the hands-on time. While the bread requires no kneading per se, it does take 12 to 18 hours to rise. I don’t always want to wait that long. So, I’ve tried a few different alternatives to mimic it and hit upon one that I modified to fit with the utensils I own.

The recipe for the Rustic Italian Crusty Bread comes from the Ciao Florentina blog. This dough does not need to be kneaded and it only takes about 2-3 hours to rise and another 45 minutes to bake. The original recipe calls for it to be baked on a pizza stone, which I don’t own. So, I split the dough in half and cooked each half in my cast iron enameled pans. This also makes it easier to share with neighbors. (Original recipe can be found here.)

The second recipe we are loving right now comes from the blog, Sunday Morning Banana Pancakes. I wanted something a bit earthy that included molasses, and her Maple Molasses Oatmeal Boule was the perfect find…and it makes two loaves! This bread is heavenly when right out of the oven, with a schmear of butter and a sprinkling of salt. It’s also great with some lemon curd and can be used for sandwiches or as an accompaniment to a hearty soup or stew. You won’t be disappointed. 

NoteBoth of these recipes are very forgiving, so if you are a breadmaking novice, there’s almost no way to screw these up, so give em a try. 

Recipes for both these breads can be found after the jump…..

Wednesday, May 06, 2020

Tasty Taco Tuesday

I love a good alliteration and I love a good taco, so I’m bringing you an easy, tasty recipe, perfect for any time of year. 

During this quarantine, we have tried to do takeout from one local dining establishment every week. Several weeks ago, The Standard Pour in Sonora offered Taco Tuesday, and we did a big order to share with the neighbors. We got shrimp, carne asada, grilled chicken and pork. All the proteins, as well as the accompaniments, came in individual containers and we built our own. We ate everything and enjoyed every bite.

This week I wanted to do my own Taco Tuesday. I had some frozen shrimp I’d bought on sale and a recipe I wanted to try for honey-chipotle shrimp tacos. So, I defrosted two pounds of shrimp and set out to make my own tortillas. 

You’re saying, “What?!?!?” This meal is supposed to be easy.”

The recipe overall is definitely easy. I certainly don’t expect you to make your own tortillas. I just had some time on my hands and happened to have some masa flour left from making tamales, so I thought I’d give it a go. And to be perfectly honest, most store-bought corn tortillas are actually really good and probably beat mine all to hell, especially as I didn’t have a tortilla press and if I described how I made them so perfectly round you would laugh your ass off. But I digress….

This meal is super simple, taking about 10 minutes of prep and 4-5 minutes to cook. Can’t beat that! Now, the shrimp have a little kick to them, so this may not be the best option for small children, but adults will gobble these tacos up. I served them with some homemade black beans, but they’d also be great with some grilled corn on the cob and charred green onions, or plain old refried beans. (Actually, they’d probably be good with burnt cauliflower or overcooked peas, they’re just that good.)

The shrimp is served with a nice avocado crema, chopped cilantro, thinly sliced onion and cabbage. Some nice slivered radishes would also be delicious

The recipe serves 4, but it can easily be doubled to serve 8, which is what you will want to do when this whole quarantine is over. In fact, throw in some ice-cold beer and frosty margaritas to wash it all down with and toast to your survival!

NoteThe recipe calls for medium-large shrimp, which run about 31-40 per pound. I often get larger shrimp on sale and there’s no reason not to use them. You can either cut them in half lengthways or in thirds crossways…whatever is easier.

Honey-Chipotle Shrimp Tacos

1 pound medium-large raw shrimp, shelled and deveined
2 tablespoons adobo (from a can of chipotles in adobo*)
2 tablespoons honey
2 tablespoons corn or vegetable oil
1/2 head Napa cabbage, thinly sliced
1 small red onion, thinly sliced
3 limes, cut in wedges
Salt
1 avocado
1/2 cup each sour cream and mayonnaise 
1/2 bunch cilantro, chopped
Corn tortillas

Make the shrimp marinade by mixing the adobo sauce and honey. Toss in your shrimp and stir to thoroughly coat all the shrimp. Set aside. 

To make the avocado crema, mash the avocado and then sprinkle with the juice of half of a lime and a bit of salt. Mix in the sour cream and mayo and stir until no lumps remain. 

Take the thinly sliced onions and toss with lime juice from 2 of the lime wedges and a half teaspoon of salt.

Next, you’ll want to heat your tortillas—on the stove, on the grill or in the microwave—and keep warm. 

Meanwhile, heat the oil in a large nonstick fry pan on medium-high. When it gets hot, gently toss in your shrimp and cook for 3-5 minutes, stirring occasionally. Cook time will be dependent on how hot your pan is, how crowded the shrimp are, and how large the shrimp pieces are. The shrimp is done when it has turned completely pink. 

Top a warm tortilla with your shrimp, a squirt of lime juice, a good dollop of the avocado crema, then the onions, cilantro and cabbage. Dig in and prepare to be amazed!

Serves 4

*You can use the leftover chipotles in this delicious Chipotle Cream Sauce, an all-purpose sauce that has some heat to it. I have used it in all varieties of Mexican dishes, from tacos to burritos and as a dressing for taco salads. It also works well as a pasta sauce and a dip for chips.


Tuesday, April 28, 2020

The Etiology of Bubba Pasta

Yesterday was my nephew’s birthday. A senior in college, he turned 22 and could have had anything he wanted for dinner (with some limitations due to the current pandemic). I suggested he ask his father to grill a nice tomahawk steak, something I know he has enjoyed in the past and is a rare indulgence. He informed me that they would be having “Bubba Pasta” for dinner. I was surprised and delighted at the same time, as this was a very simple dish I introduced to him a few years ago.

Now for the tale…. Thirty years ago, we began camping at Pinecrest Lake in Northern California’s Stanislaus National Forest. We started out with two other families, with adults outnumbered by kids. Six adults and at minimum 9 children (who often brought along friends!). We had our hands full and lots of mouths to feed, but one thing we didn’t compromise on was food. Yes, there was the occasional bowl of cereal for breakfast or burgers for dinner, but we refused to dumb down our palates just because we were out in the woods.

We had jambalaya, chicken tikka, steak and potatoes, shrimp tacos, along with nice wine and cold margaritas. One of our annual staples was a pasta dish that was simple and quick in preparation but enjoyed by everyone. It never had a name, and I’ve never really written down the recipe, even though I have now published three cookbooks. My friend, the mother of three of the campers, always made sure it was on the menu.

The dish consists of pasta, bacon, garlic, Roma tomatoes, cilantro, Parmesan and olive oil. You probably have everything in your house to make it right now. If not, you can certainly substitute what you do have.

Most any pasta will work with this, although we traditionally use either bow tie or fusilli. The chopped ingredients adhere best to these two types. We originally started out using very cheap and thin cut bacon, since we were feeding a crowd. It actually works really well, but diced pancetta is a great substitute, and I often dice up my smoky home-cured bacon for a real treat. I think garlic is essential to the taste and flavor, but you can omit if you’re out of it.

The Roma tomatoes were always the tomato of choice as they are meaty without a lot of seeds. But you can sub in any type of tomato, although it’s best if you deseed them – or you can leave them out entirely, as we often do since several in the family do not like tomatoes. I believe that cilantro is also integral to the flavor of this dish, but many people have the gene that makes cilantro taste like soap, so you can sub in basil.

A good hard cheese is an absolute must. It can be Parmesan, Romano, Grano Padano, or even Asiago. You can use shredded or grated, as both work well. The olive oil is a necessity if you use a leaner bacon or pancetta, as you need something to coat the pasta. I don’t believe there is any good substitute for a nice olive oil, and you can even use a fruitier olive oil if you have it.  

Said nameless pasta dish came to be known as Bubba Pasta due to the fact that my nephew’s nickname is Bubba, a moniker he earned as a toddler. Now 6’4” and an All-American collegiate volleyball player (says this very proud auntie), he still answers to the name. And this has become his favorite pasta dish since he first tasted it three years ago when he vacationed with us at Pinecrest Lake (albeit in a cabin not a campground).

So happy birthday Bubba! Hope you enjoyed your birthday dinner!

On a side note: That first foray to Pinecrest thirty years ago led us to give up our hectic Bay Area life two years ago and move to the mountains, just about 15 miles down the hill from the lake. Best move we ever made, and I know there will be lots more Bubba Pasta in my future here.
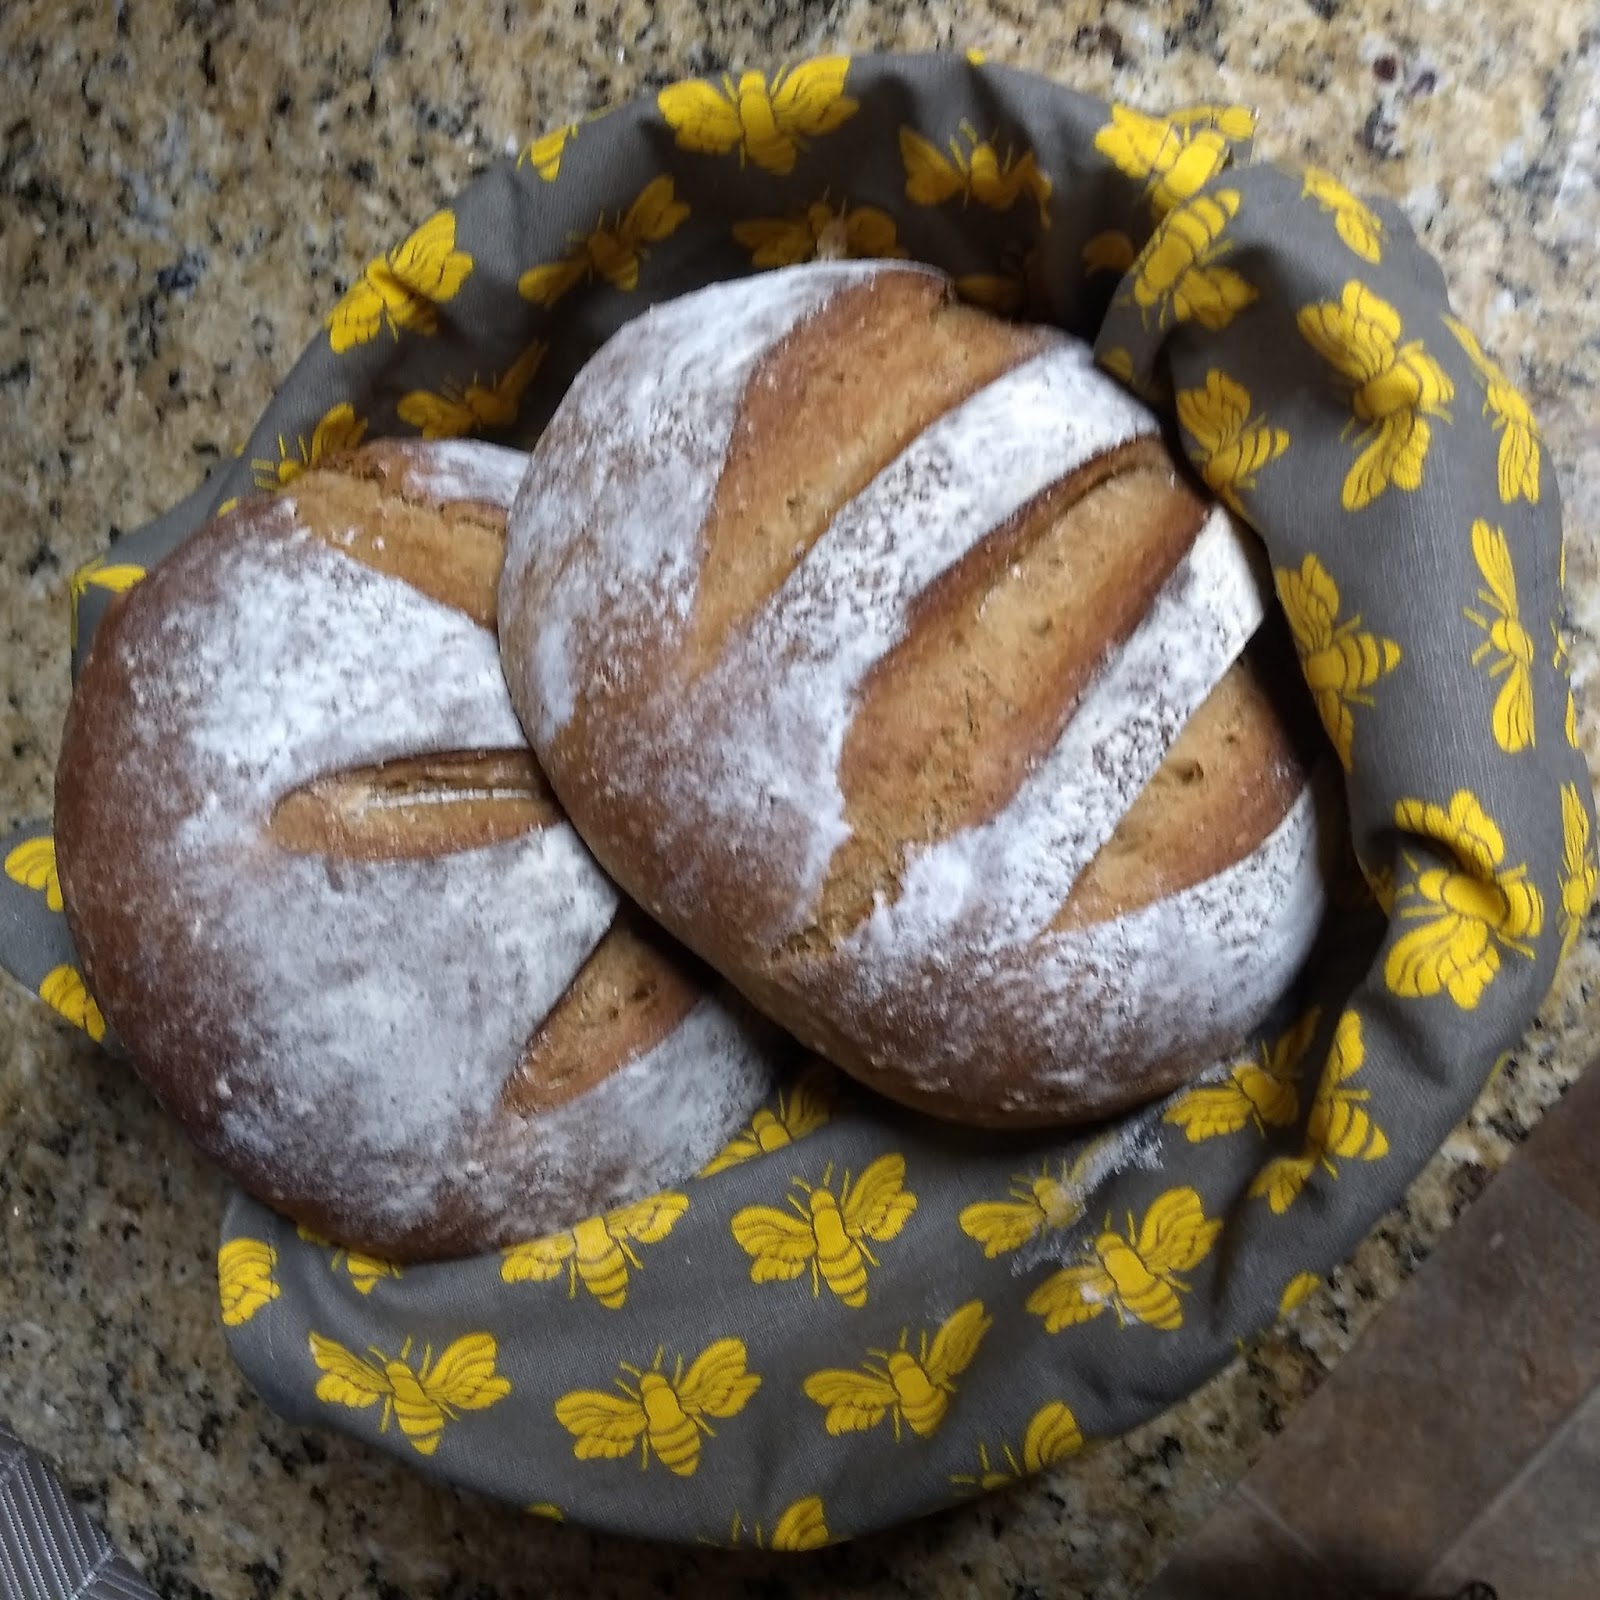
Bubba Pasta
Serves 4-6

1 pound bow-tie or fusilli pasta
1/2 pound diced bacon or pancetta
4-6 cloves garlic, minced
4 Roma tomatoes, seeded and diced
1 bunch cilantro, leaves only
1/2 cup grated or shredded Parmesan cheese, plus extra for serving
Olive oil, as necessary
a few twists of fresh ground pepper

Fill a large pot with salted water and place on high to boil. While water is heating up, dice your bacon, garlic and tomatoes. Pull the leaves off your cilantro stems.

Just as your water is coming to a boil heat a large fry pan or dutch oven to medium heat.

Place your pasta in the boiling water and set a timer to cook. Meanwhile, add your bacon to the hot pan and begin to cook. (If using pancetta, I recommend that you use a few tablespoons of olive oil to cook it in.) Stir the bacon regularly so that it gets evenly cooked. When it is almost done, add in your garlic and saute for a minute or two. (Do not, I repeat, do not drain the bacon grease, as this is what makes this pasta dish sooooo good.)

At this point your pasta should be ready. (If not, turn off your bacon/garlic mixture.) Drain your pasta. Add the tomatoes to the bacon mixture and stir for a minute. Turn off the heat and add in your pasta and the cilantro and stir to evenly coat. If the pasta seems a bit dry, add some olive oil. Toss in the parmesan and fresh ground pepper and give it a quick stir.

Voila, you’re done and barely 30 minutes has elapsed. How’s that for a quick and delicious dinner that everyone will love. (Well, except for vegetarians and vegans….)